|
Restoring an
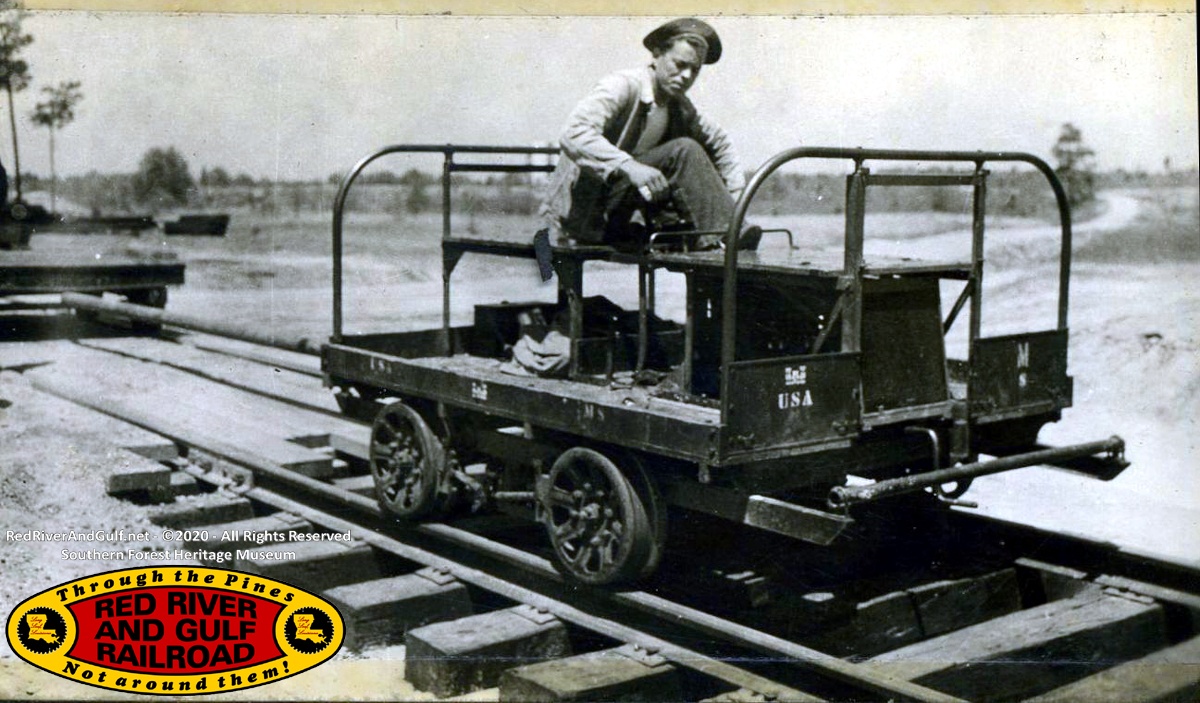
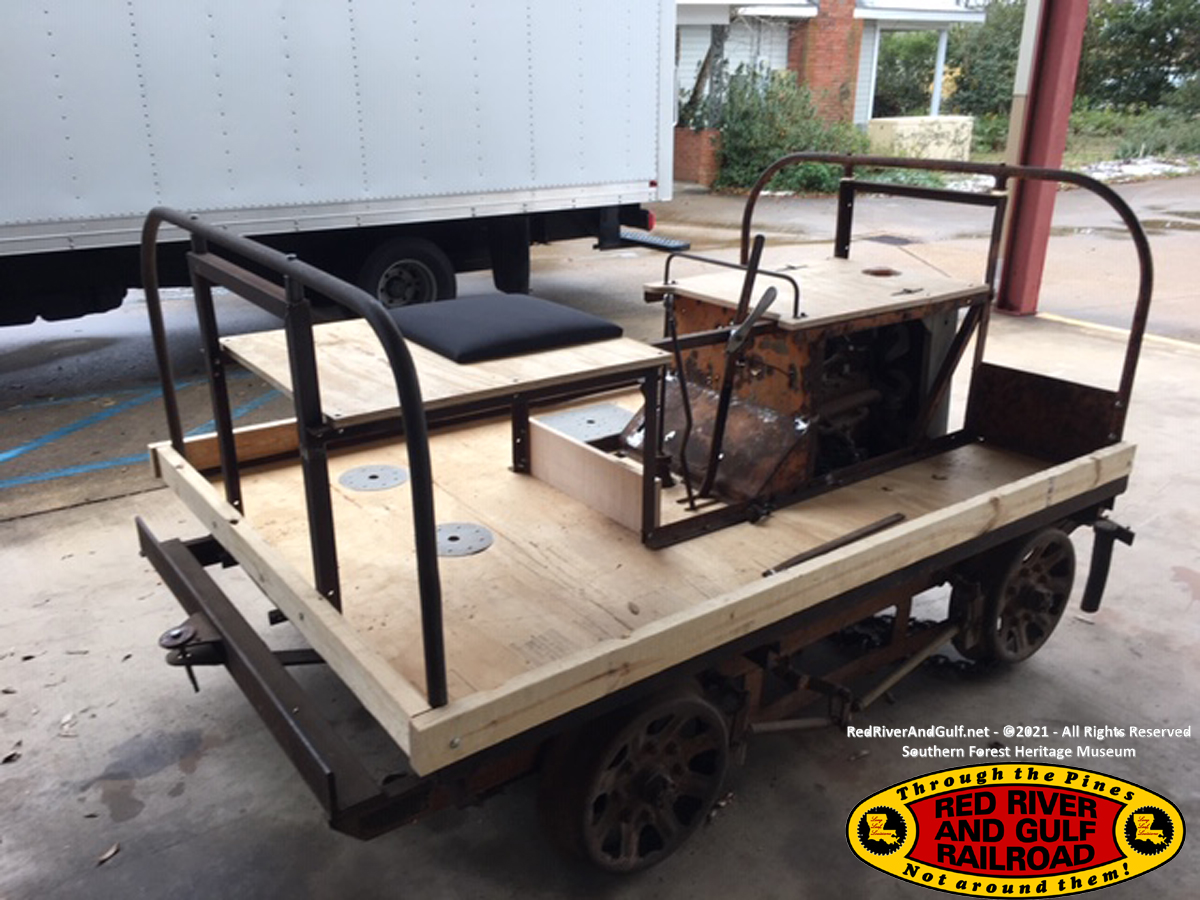
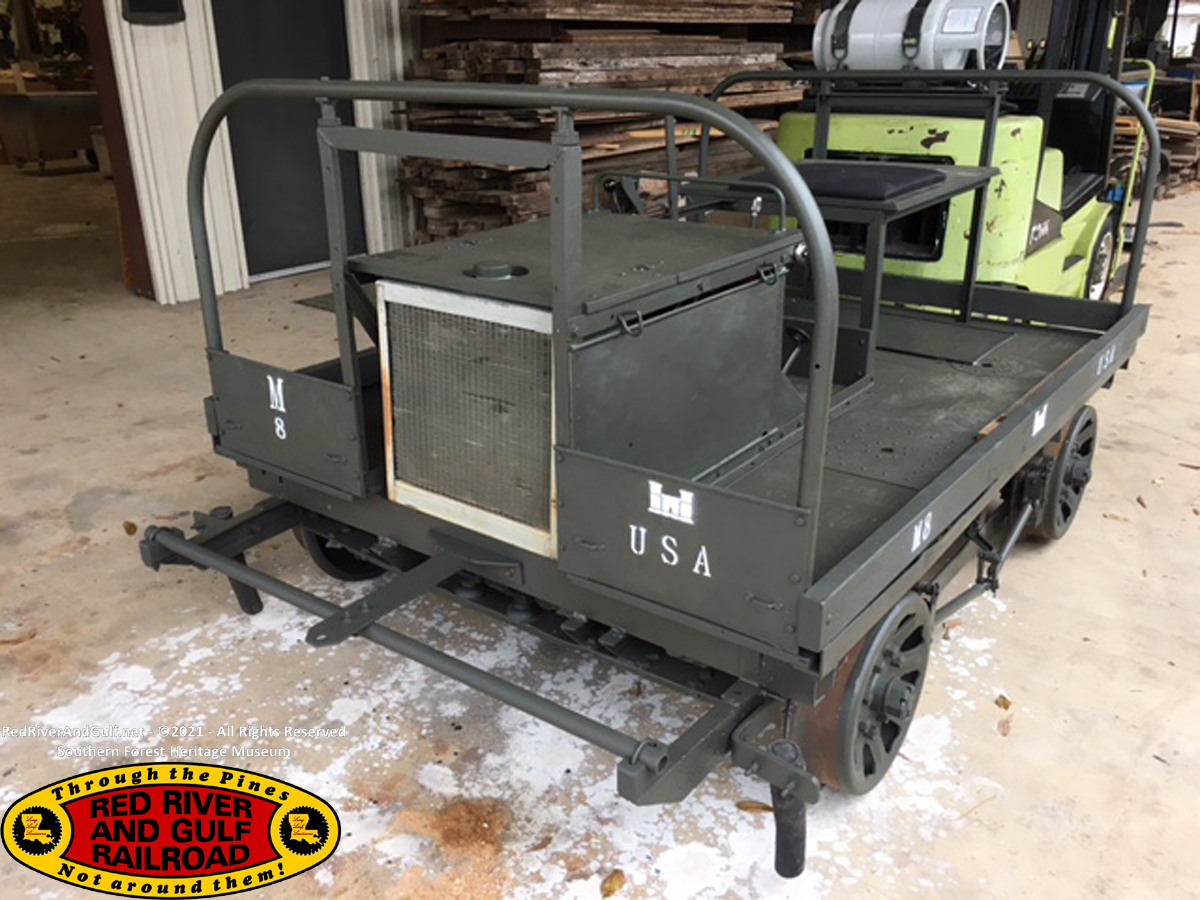
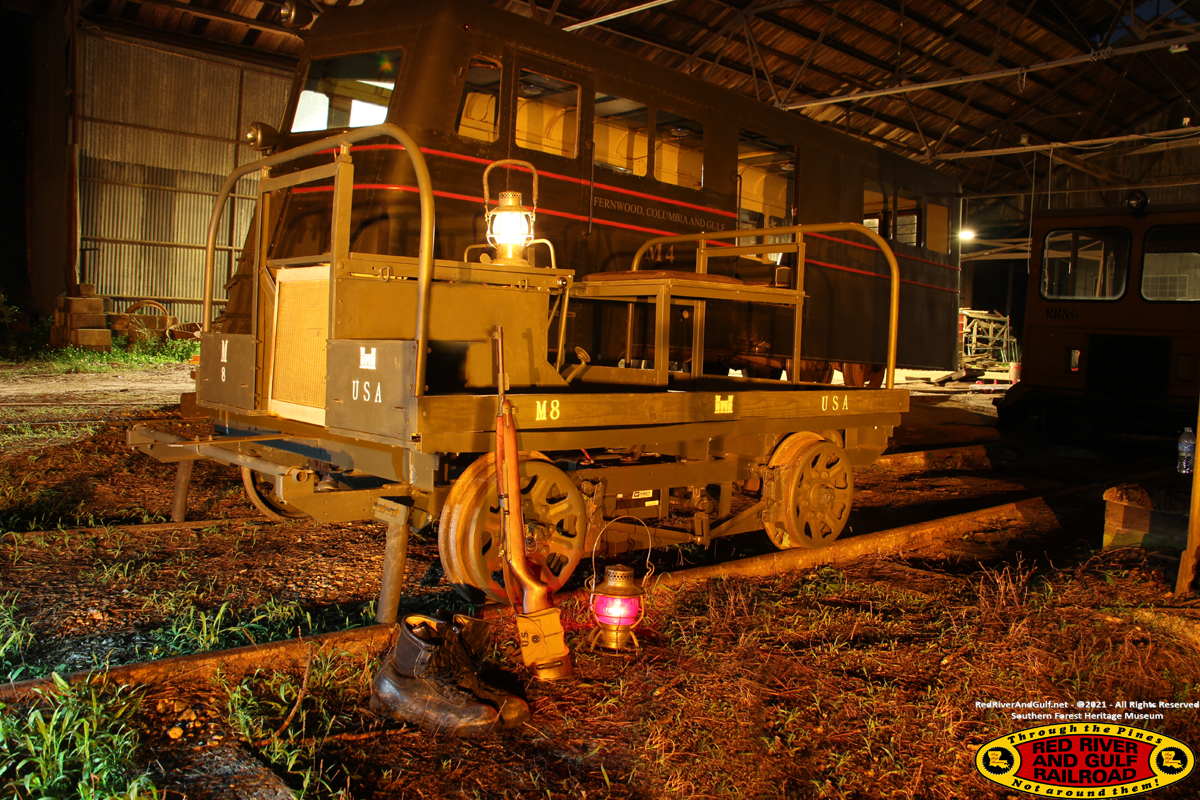
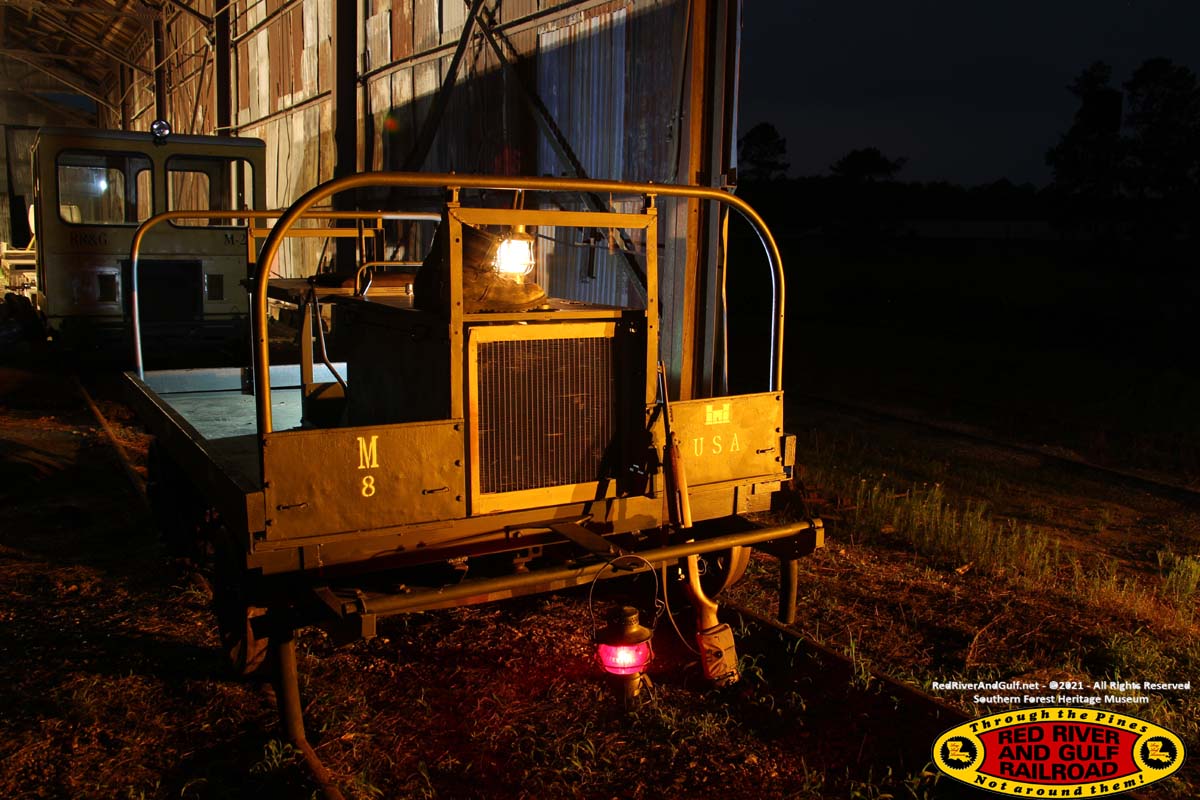
important part of Central Louisiana from WW-II, a 1930’s
Fairmont A-5 Rail Car “Speeder” similar to the one shown here
which was used by the 711th Railroad Operating
Battalion, part of the Claiborne-Polk Military Railroad at Camp
Claiborne Military Training Base near Alexandria, LA. in the
early 1940’s. Part of the bases mission was to train military
personnel how to build and maintain rail lines during war time.
This particular Rail Car belongs to the Southern Forest Heritage
Museum at Long Leaf, La. and will be an important addition to
their great Camp Claiborne Museum exhibition.
I was
introduced to the museum by my grandson Wimbley who has a great
love for trains, old trains in particular. After becoming
involved with the museum as volunteers, Wimbley and I decided we
would volunteer to restore the Museums Fairmont A-5 Speeder.
Since my dad Wallace was a mechanic, I inherited a lot of
necessary skills which would be useful in this restoration.
The museum
staff and volunteers had previously replaced the rusting fuel
tank with a new plastic one, installed a new battery, fuel pump
and rebuilt the carburetor which proved the vintage Industrial
Waukesha engine still ran!
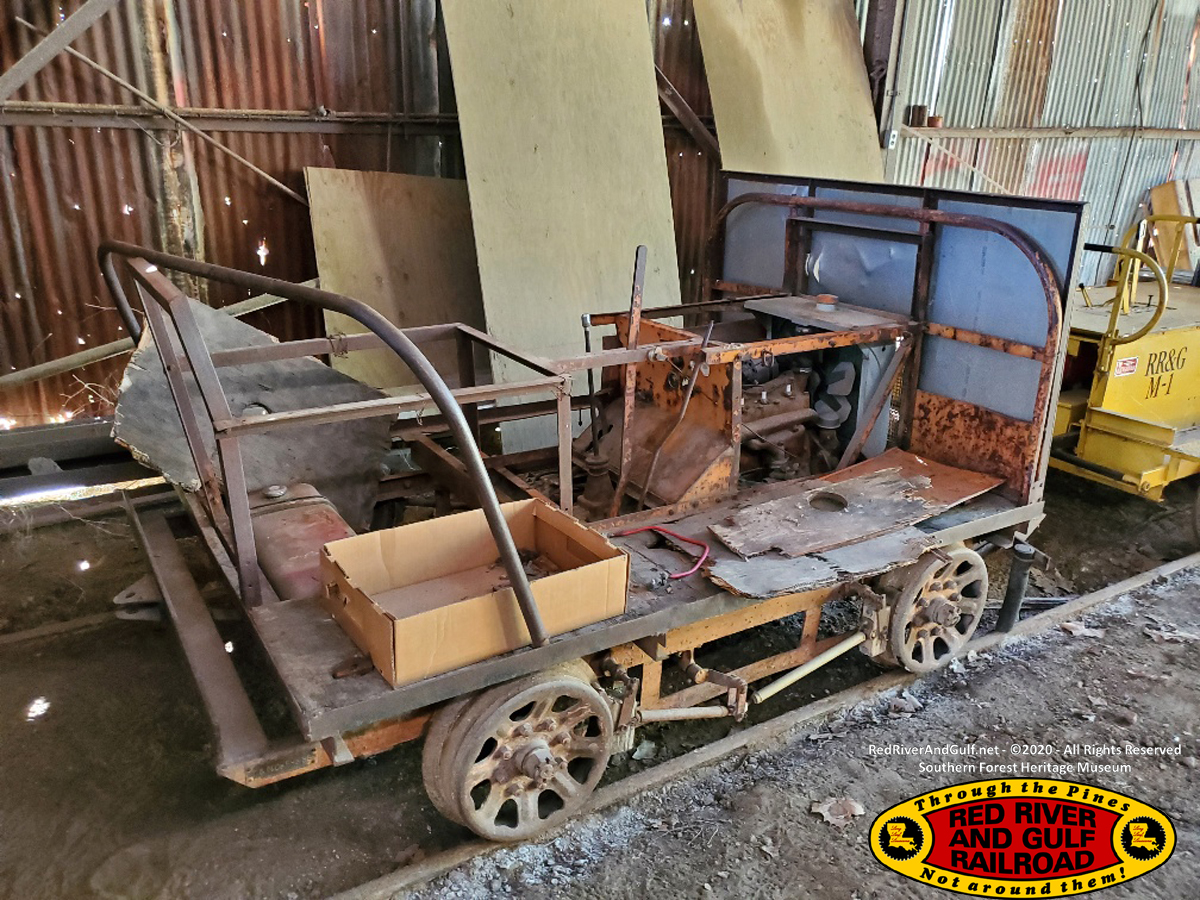
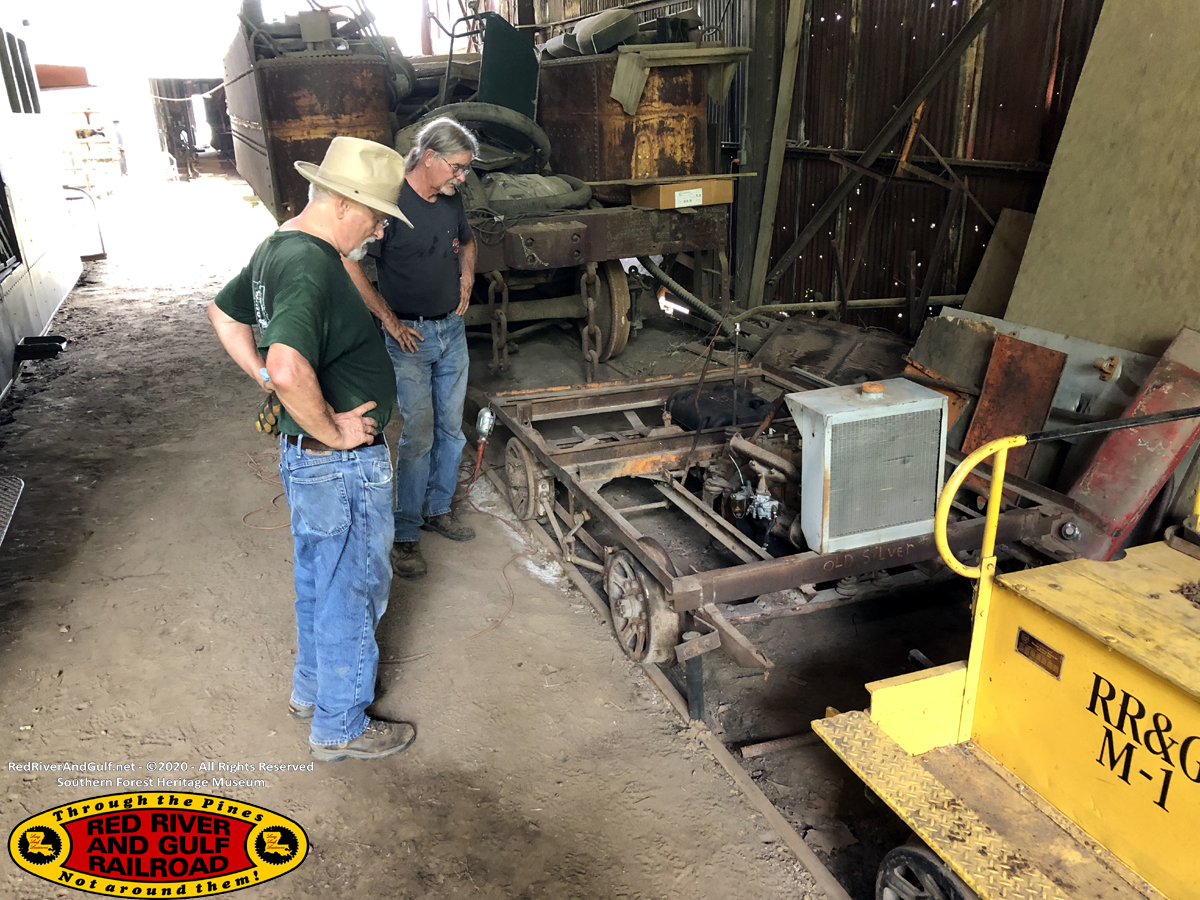
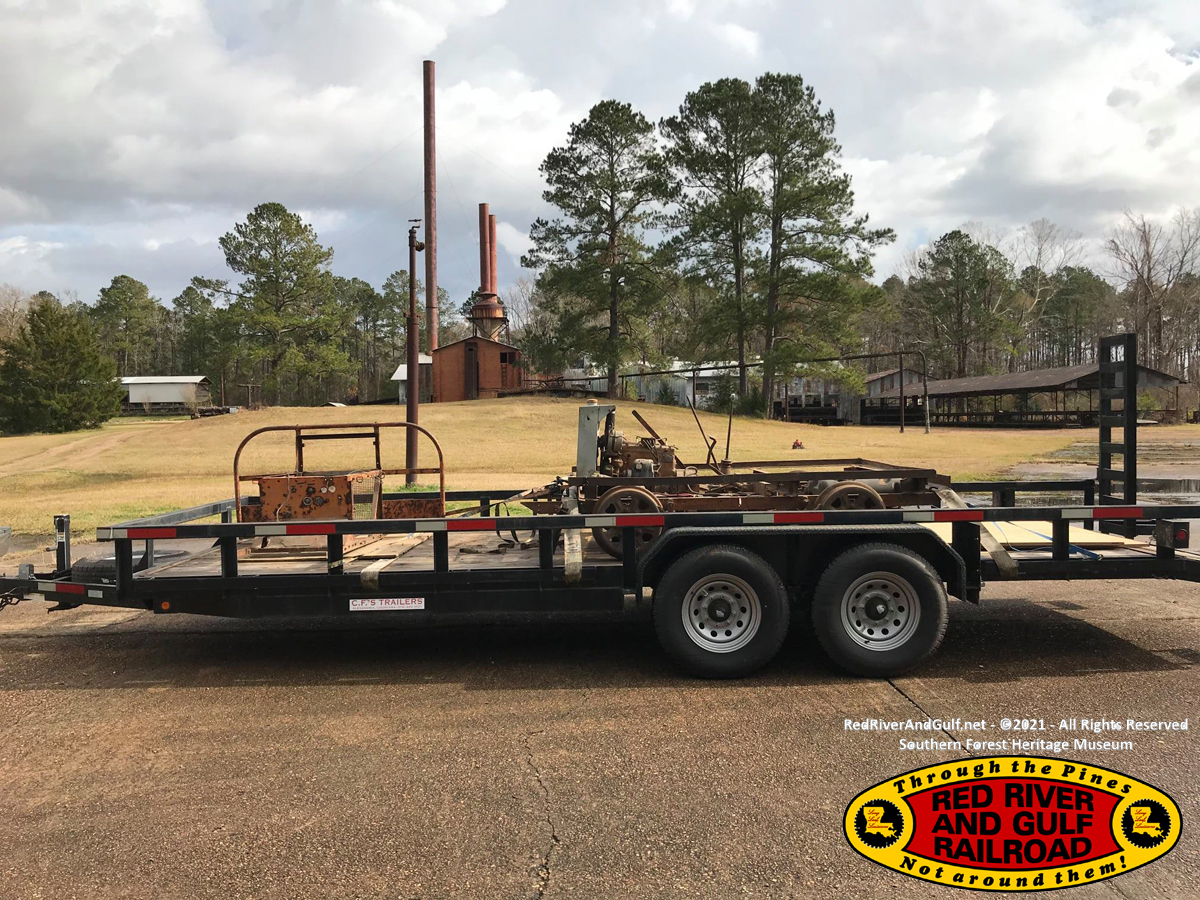
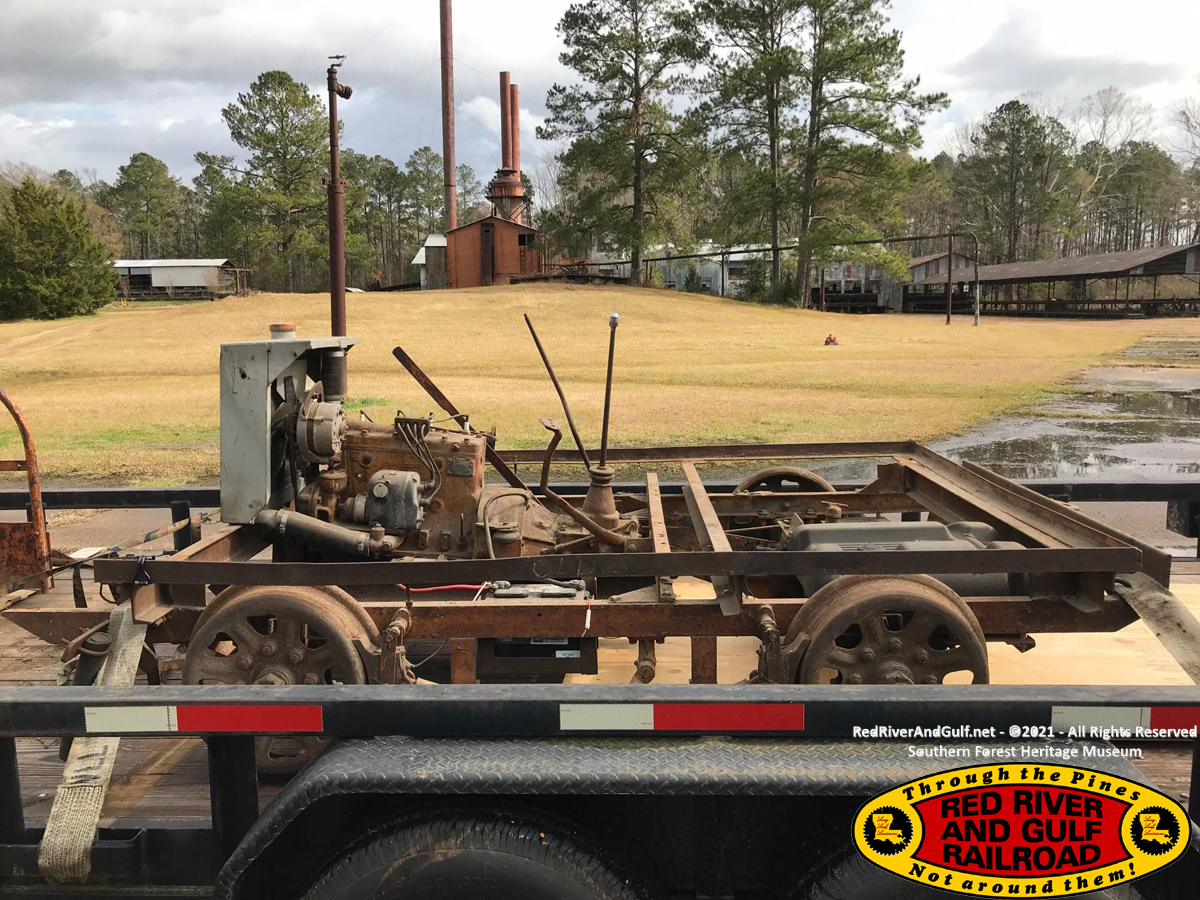
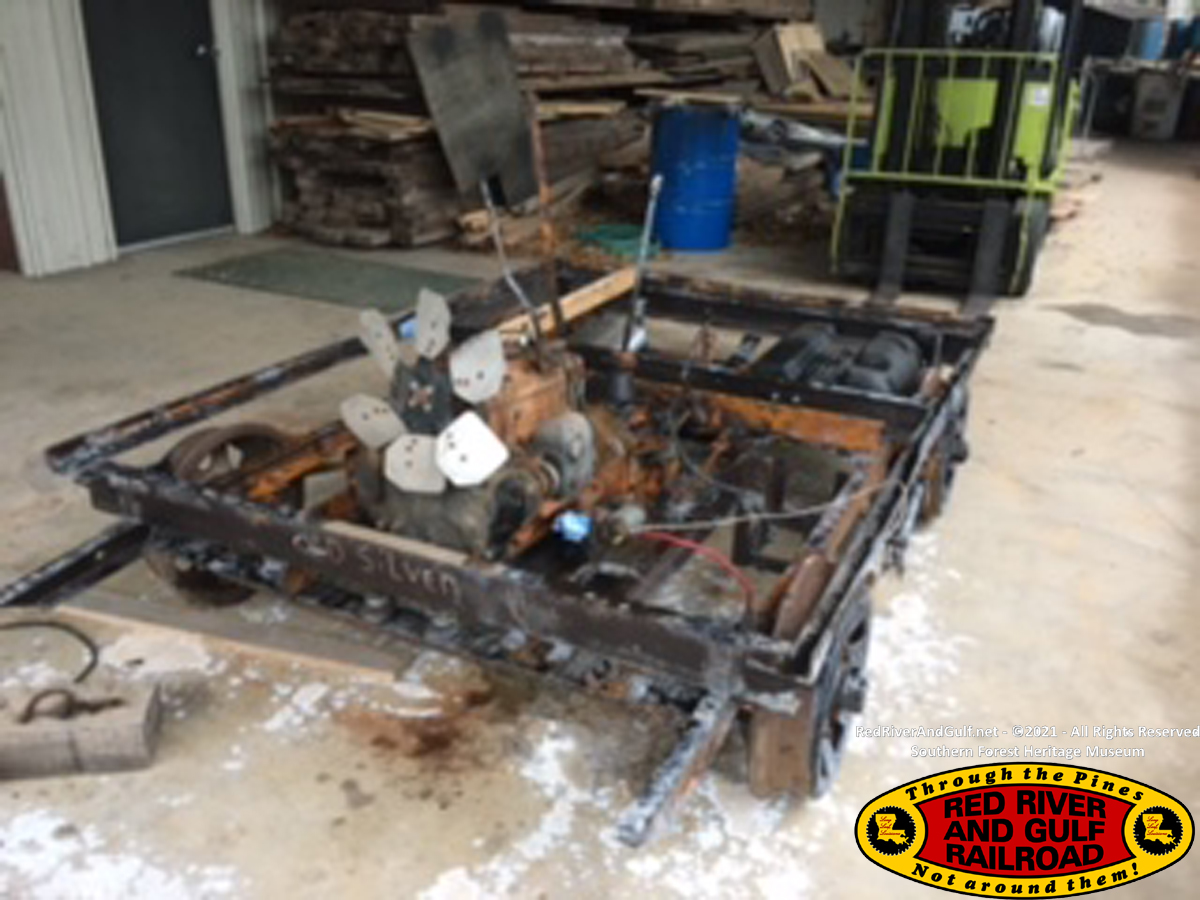
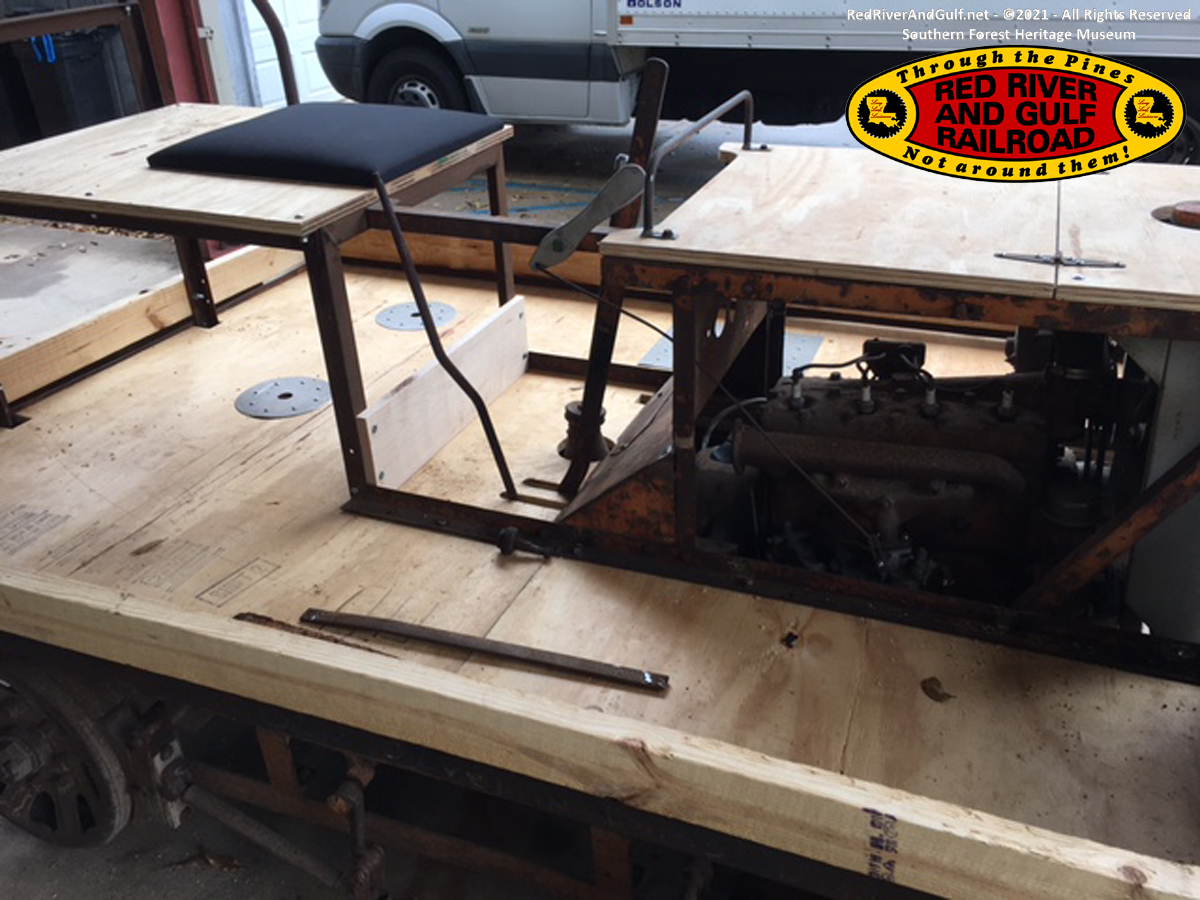
After moving
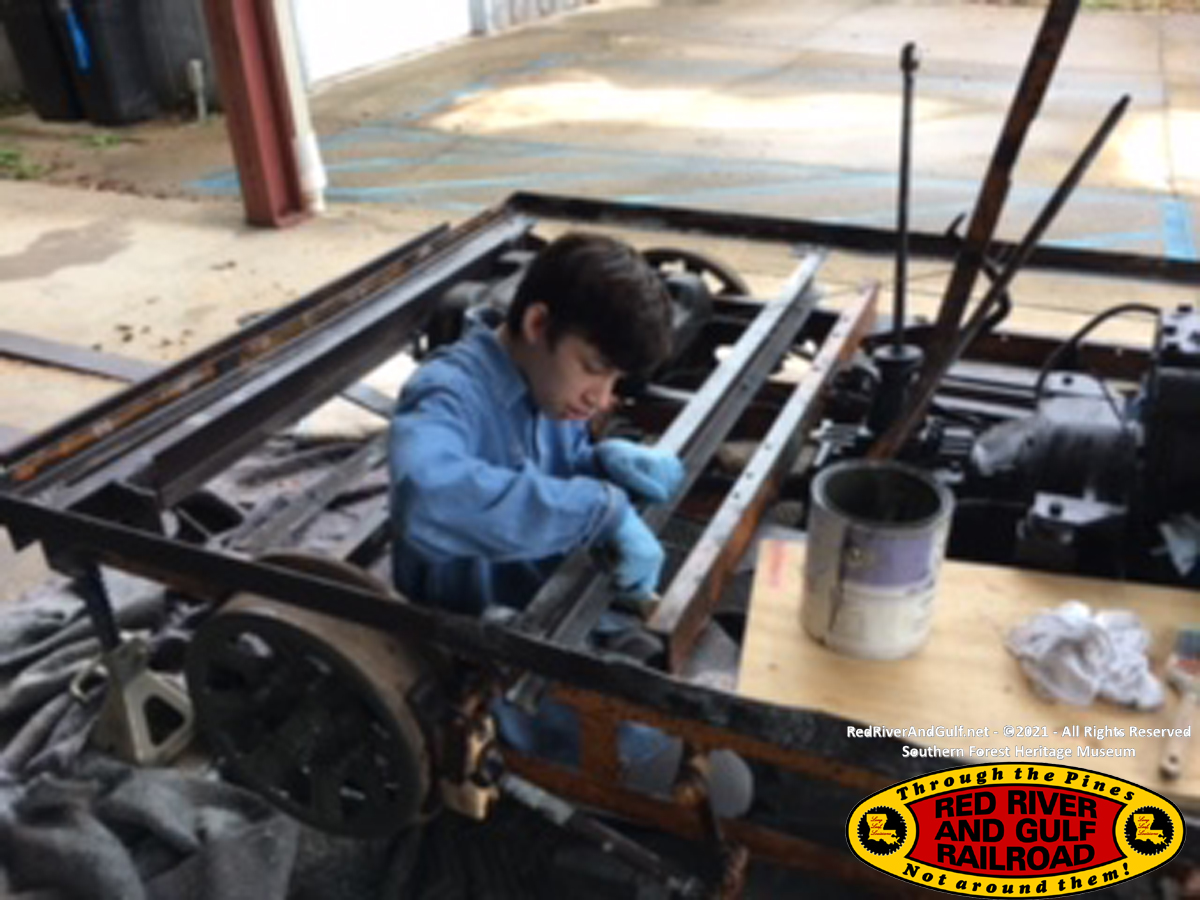
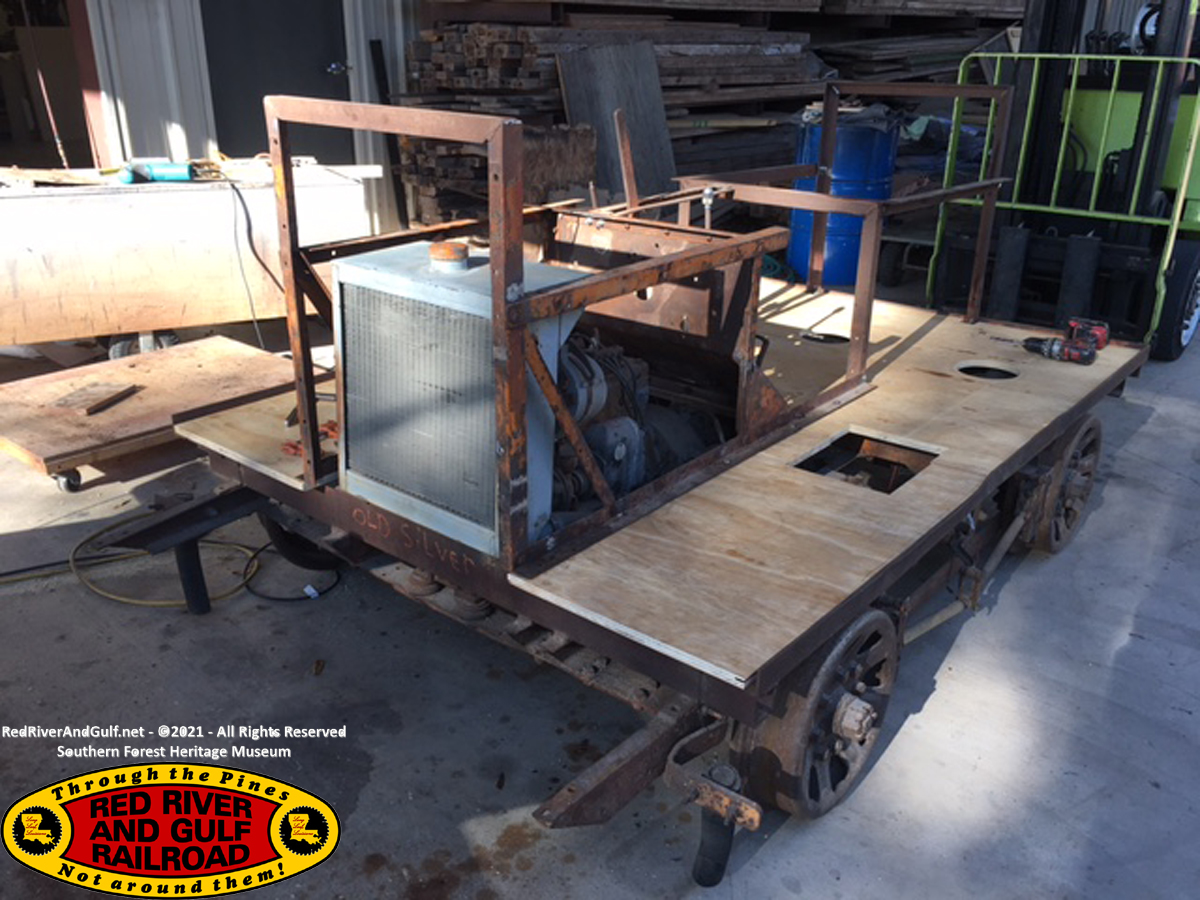
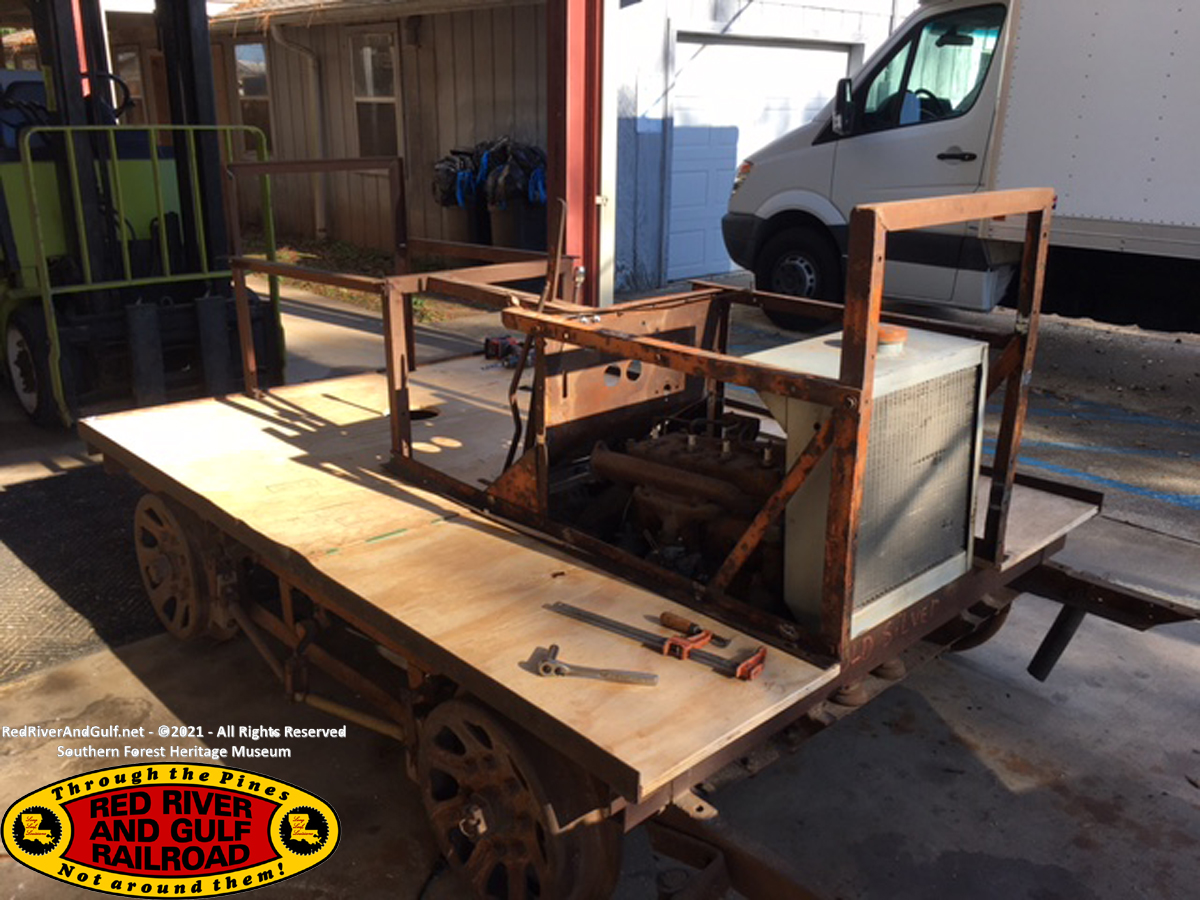
the rail car to my shop, we began by removing all the rusted and
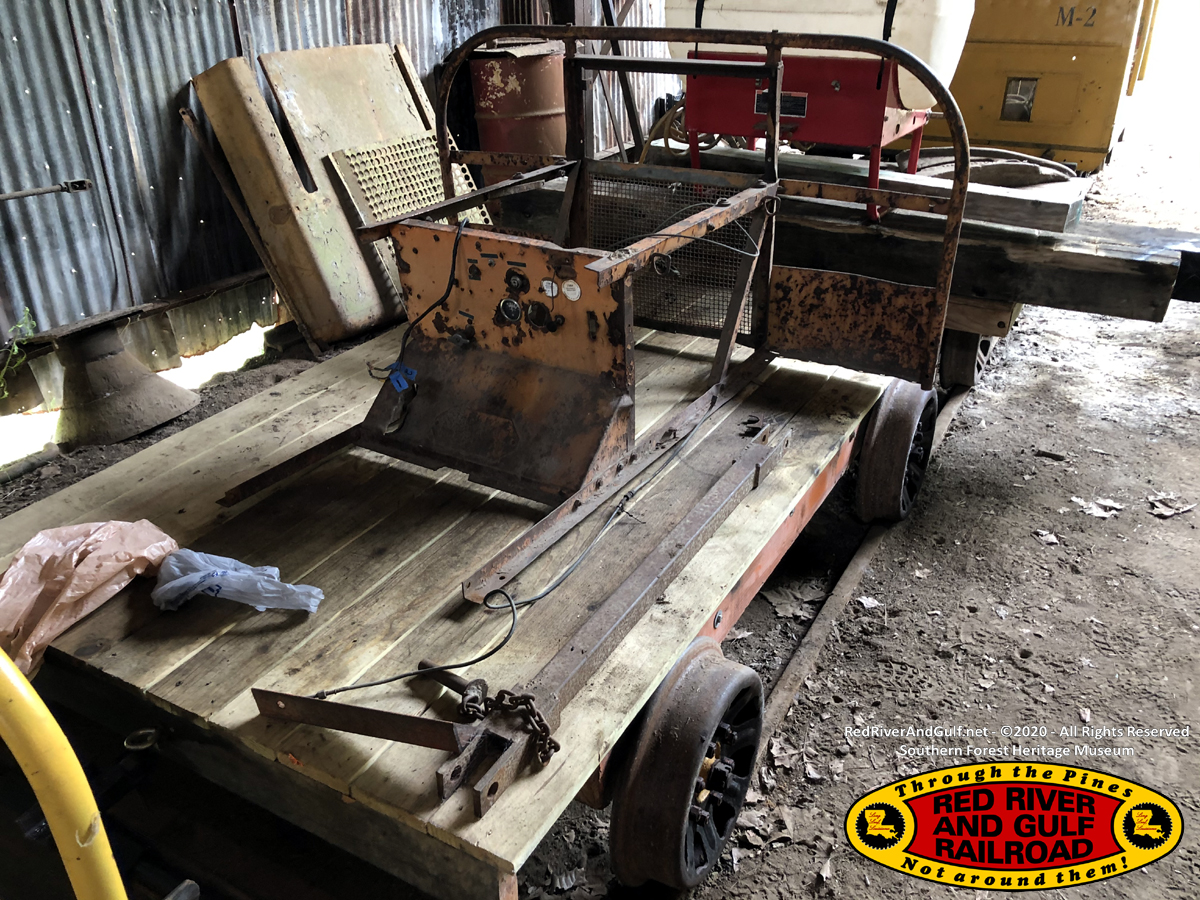
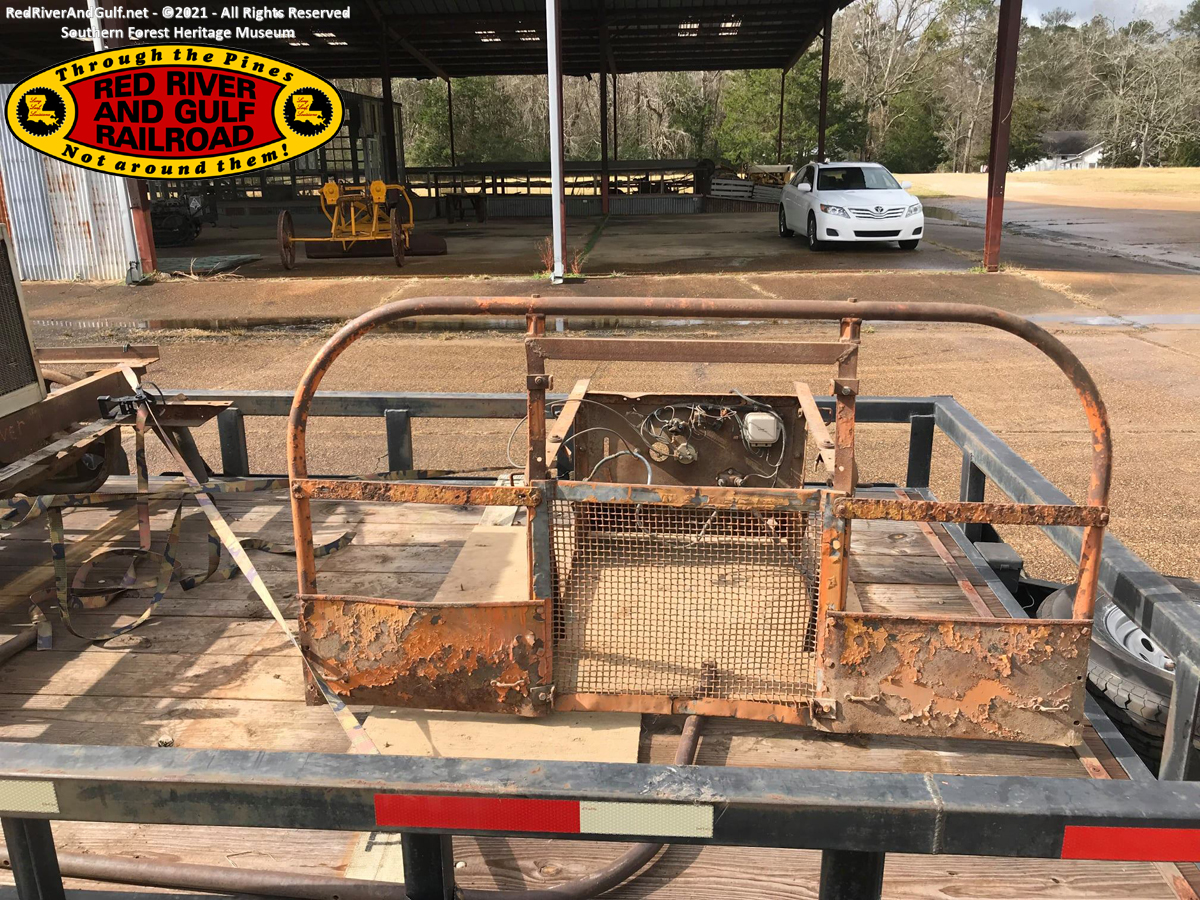
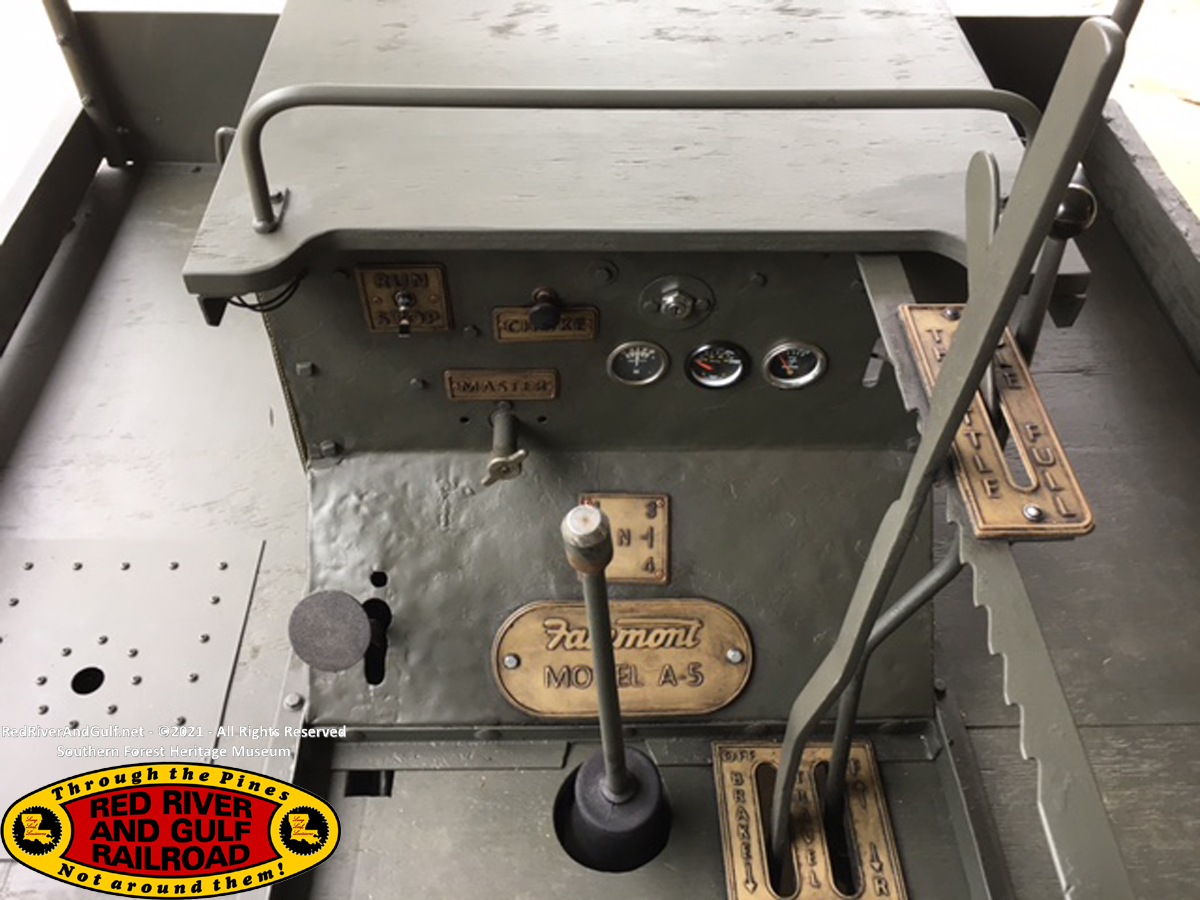
bent metal frames, rotten wood and old wiring. Next, we repaired
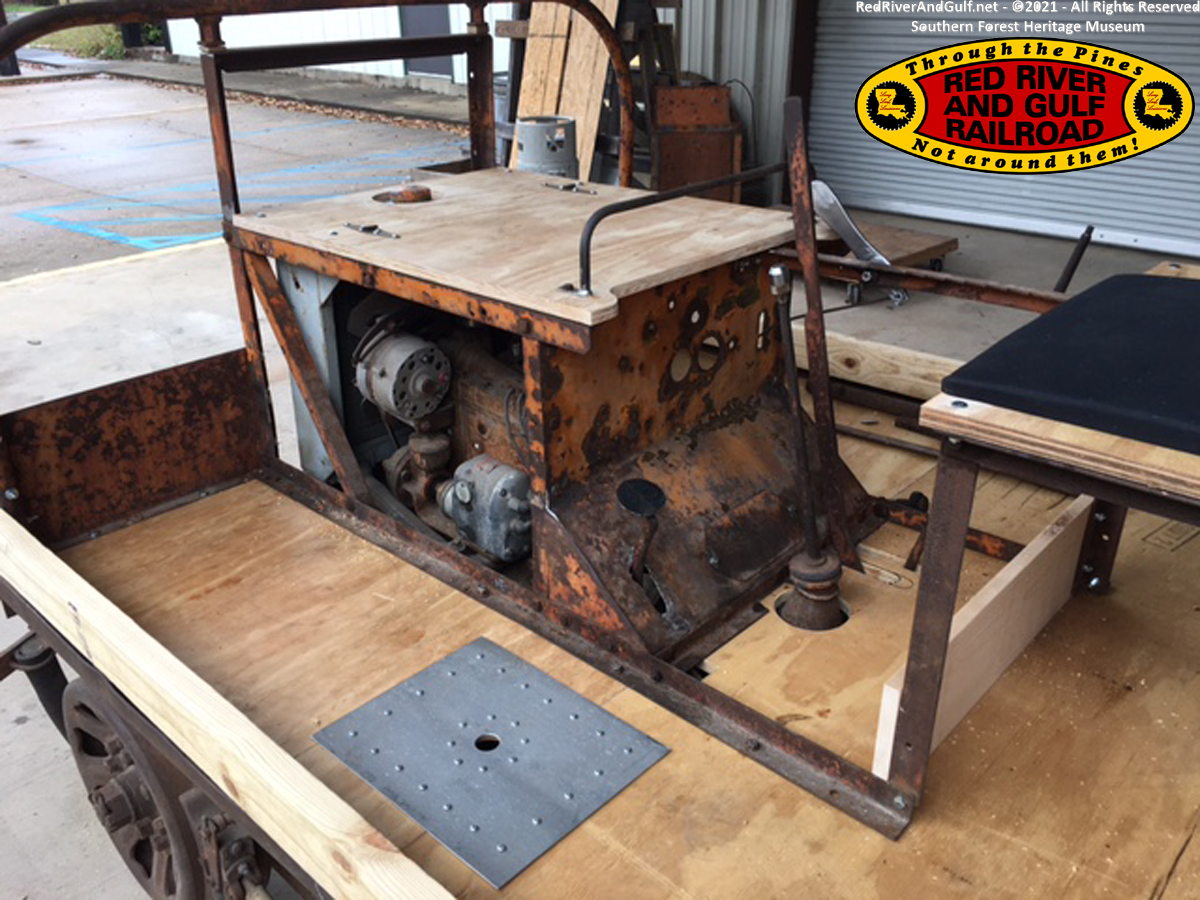
all of the bent metal frames, the dash panel and removed all
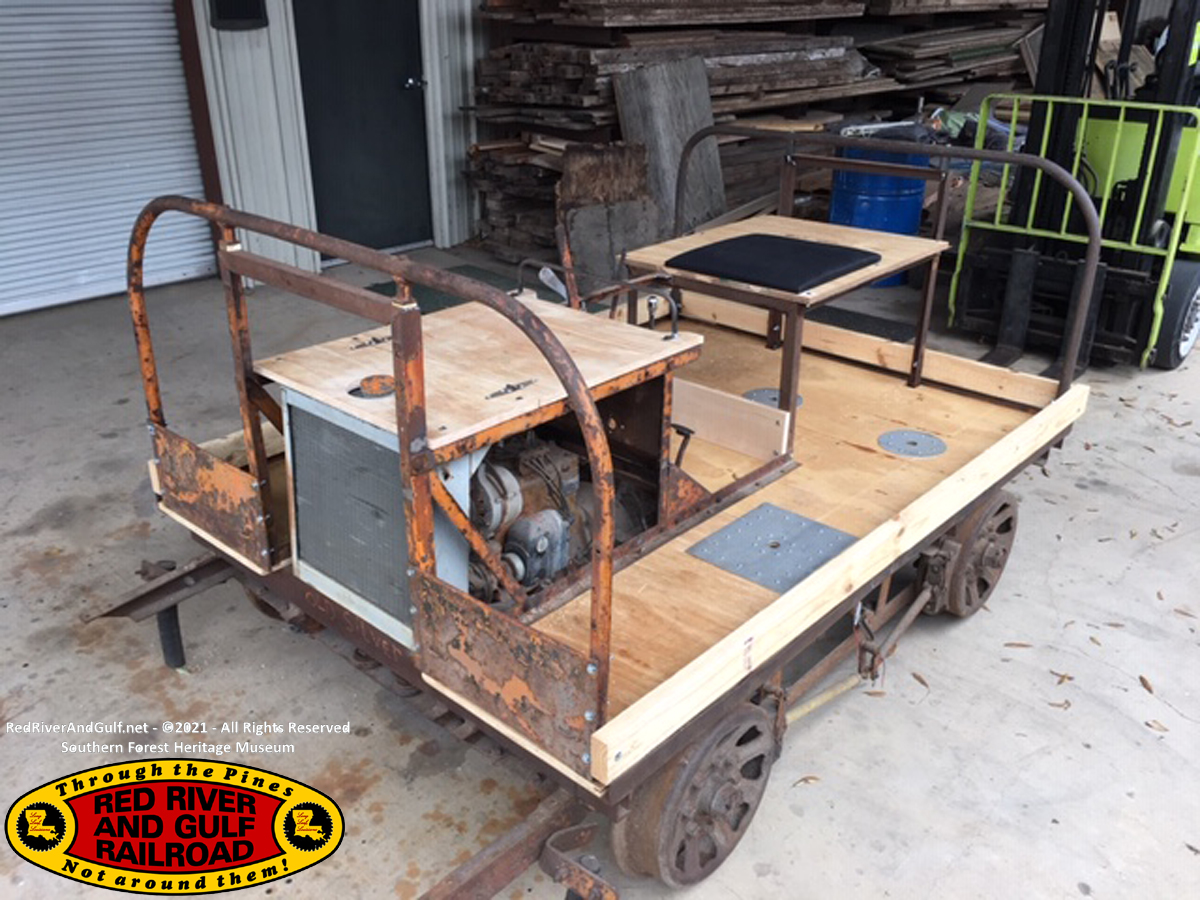
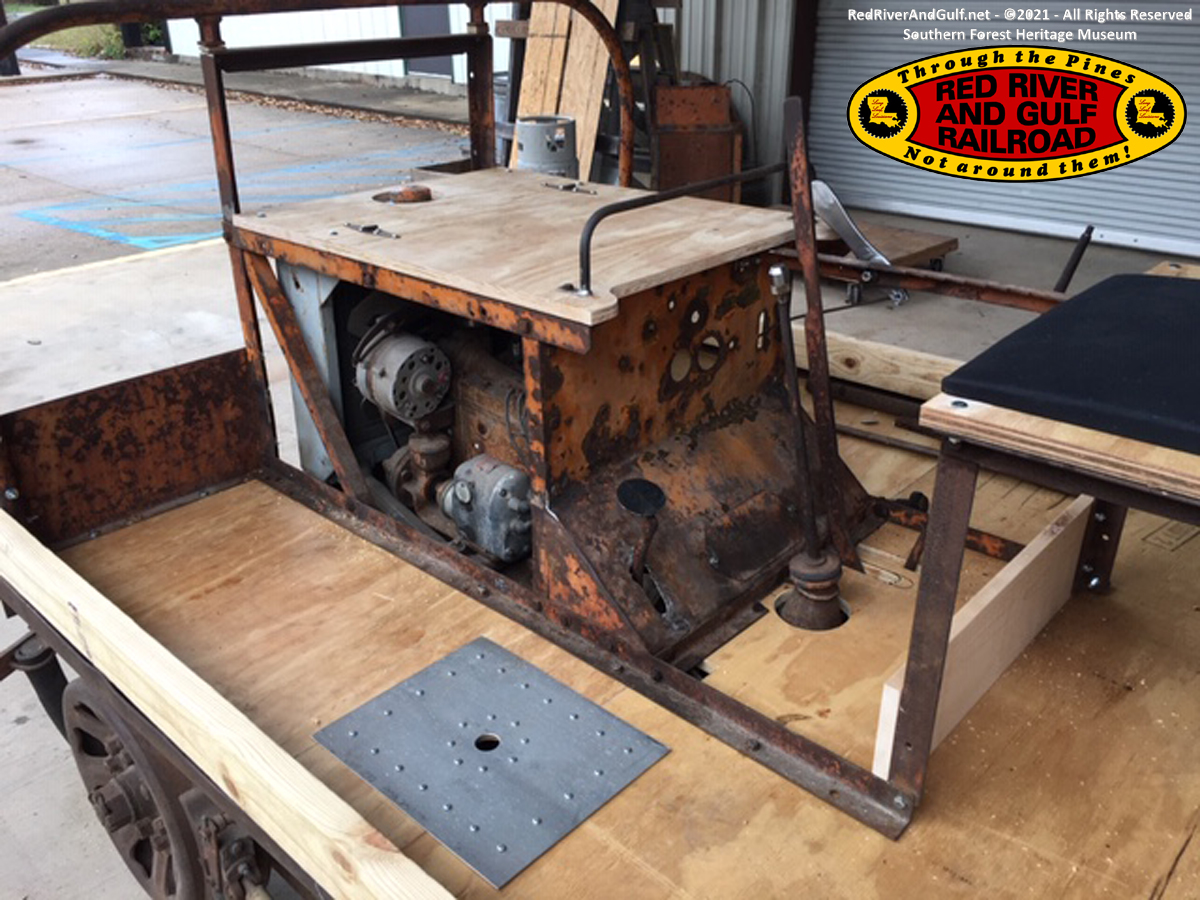
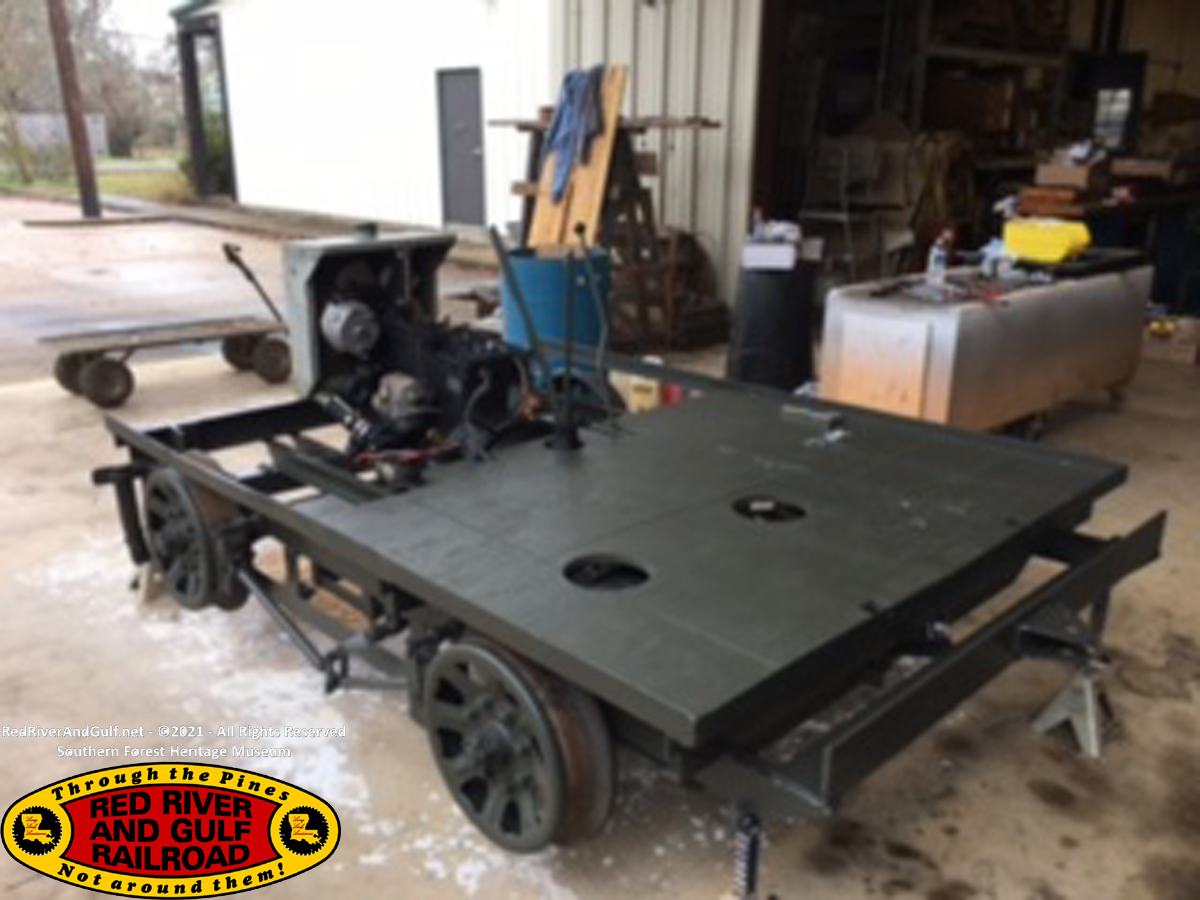
parts we weren’t going to need. A new wooden floor was then
fitted to the main frame. Access holes for the battery, fuel
tank and rear end gear box were cut and removable covers
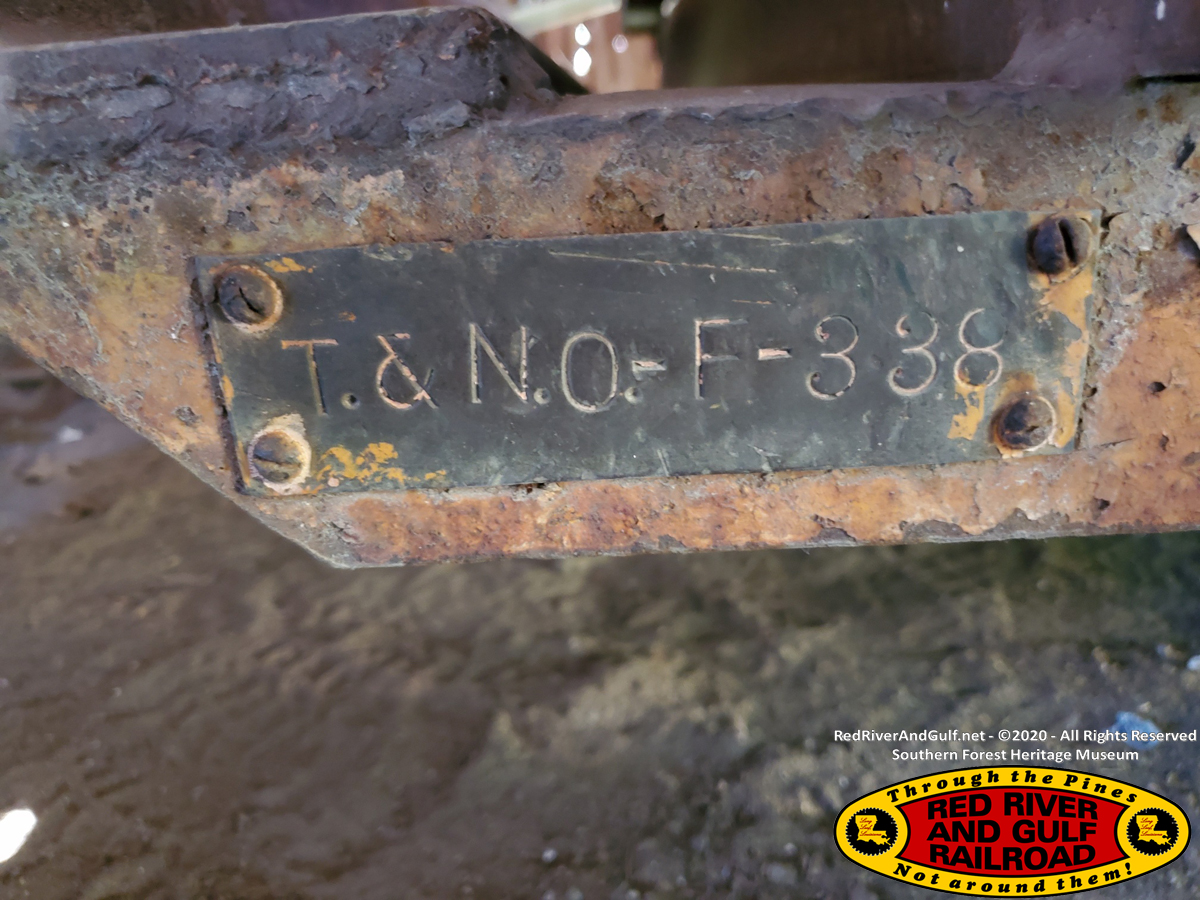
crafted. All of the modern modifications made by the previous
owner of this rail car, The Texas and New Orleans Railroad were
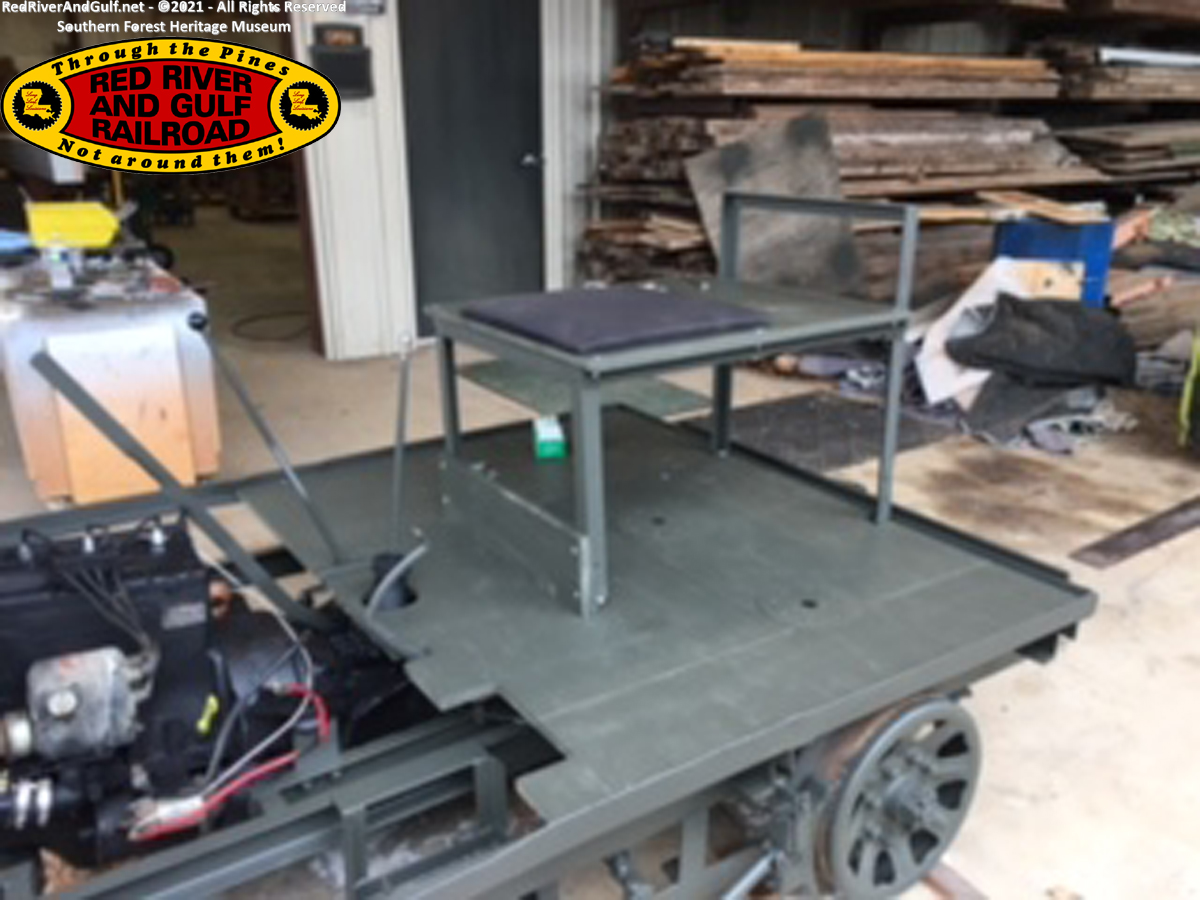
no longer needed and discarded. We then rebuilt the entire top
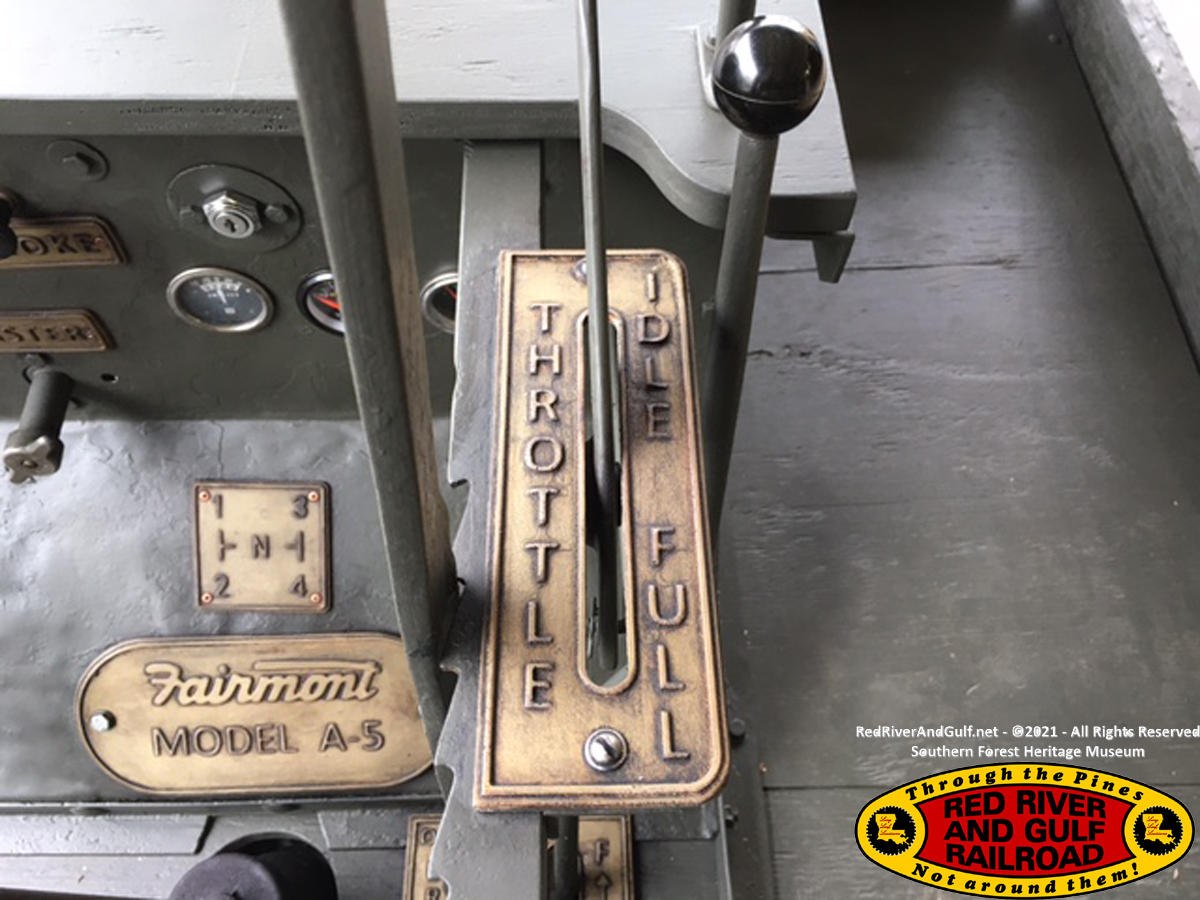
frames as shown in the inspiration photo. A thin padded seat was
added, a new throttle lever crafted, the brake handle modified
to catch the ratchet properly, and a new hinged hood and handle
were made. After we were confident all metal work on top was
correct, all was removed for cleaning and painting. The lower
main frame was pressure washed and treated with the special
chemical OSPHO for rust. During this procedure it was realized
the rubber engine mounts had settled leaving only .02 clearance
between the engine oil pan and rotating front axle. After
studying the issue, I found a way to raise the engine .35 inches
by rearranging the bushings. To accomplish this the radiator
had to be removed which dictated new coolant hoses. This
inspired us to go ahead and repaint the engine while it was
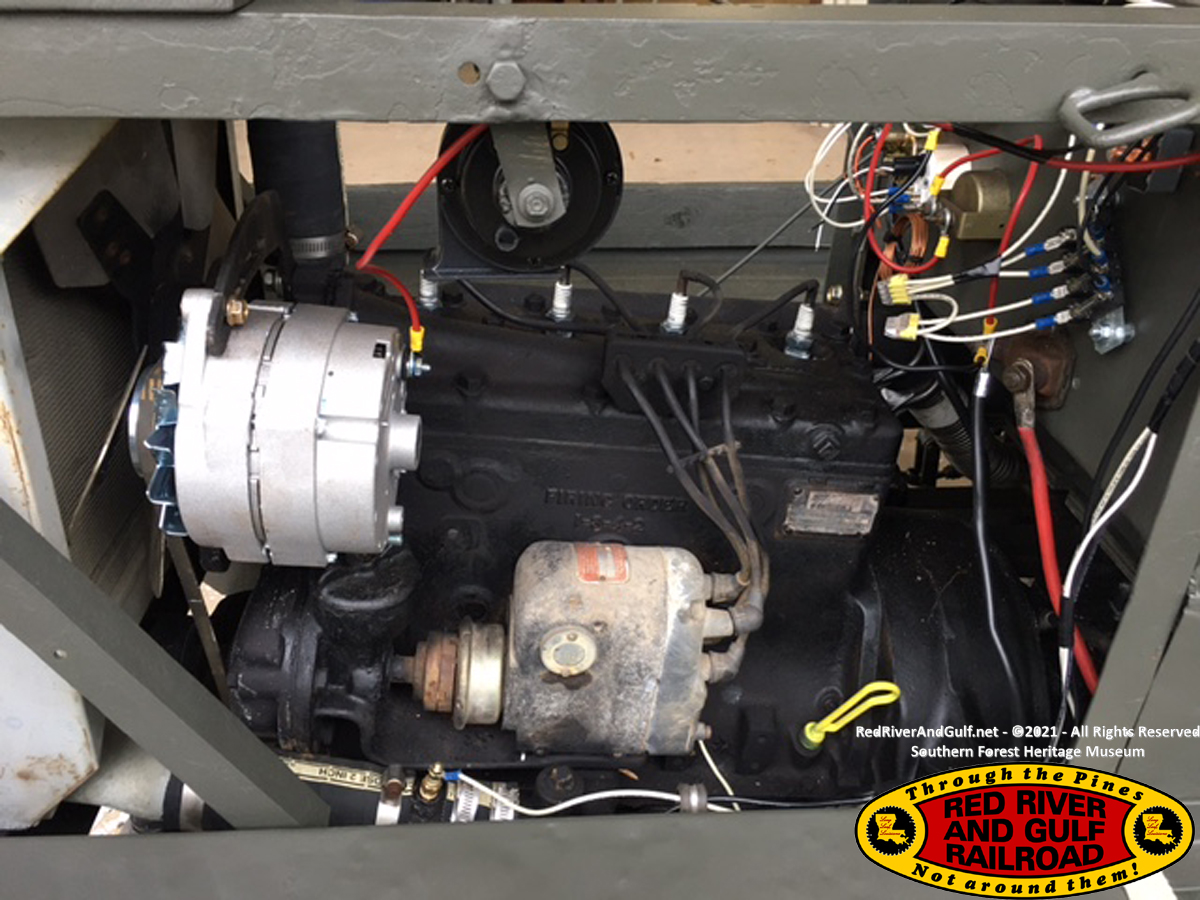
accessible. It was also deemed important to replace the
old-style alternator with a single wire type eliminating the
rectifier behind the dash panel. This also required the
alternator mounting bracket to be straightened and modified to
correct the mis-aligned drive belt. Since the iron plug suited
for the water temperature gauge probe was not able to be
removed, we crafted an inline mount for the lower hose to accept
the new temperature sending probe. A new oil pressure gauge was
procured and installed along with new spark plugs and an oil
change. The paint selected for this project was Federal
Standard Semi-Gloss Drab, “Olive Drab” for those who know
military colors.
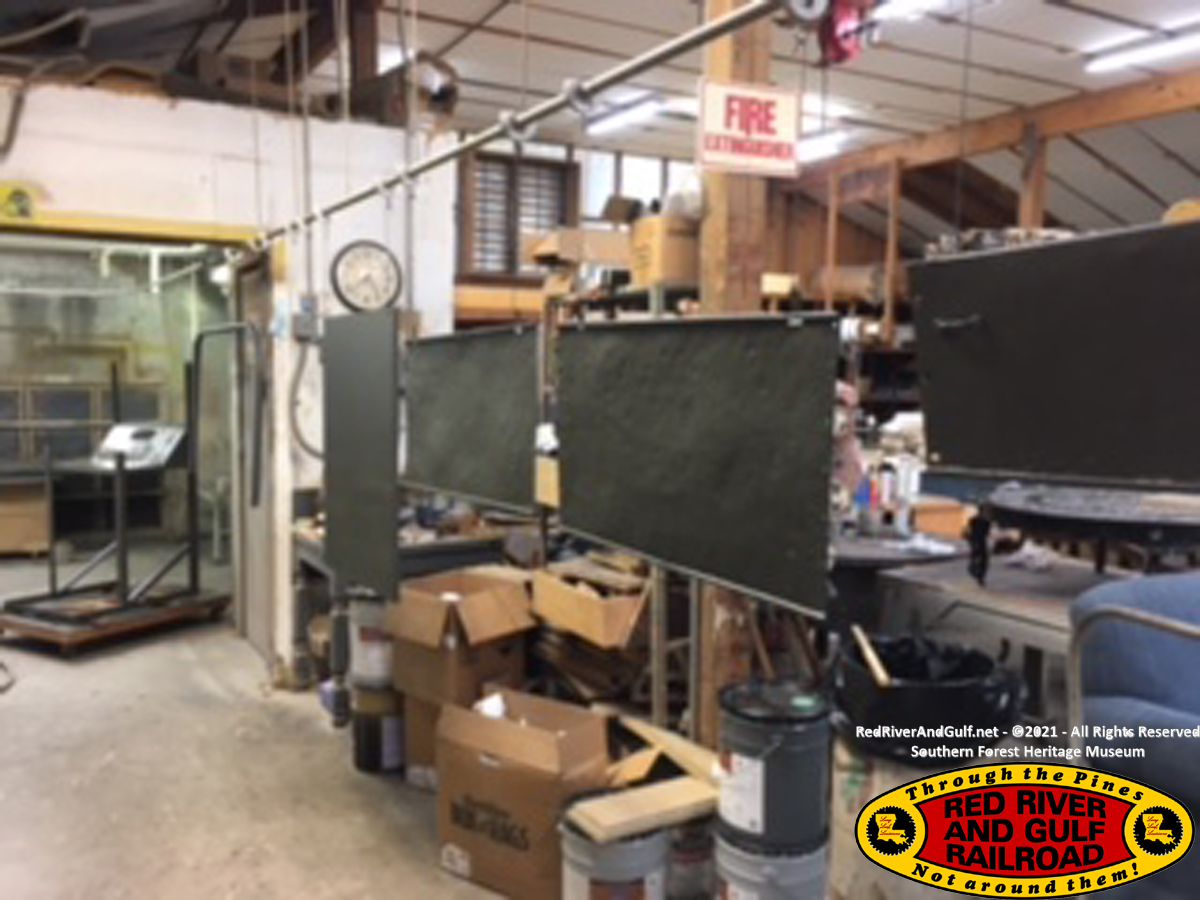
All pieces
were painted with a minimum of three coats. We then began the
process of re-assembly. When all the large parts were in place,
we began installing the smaller pieces. Eventually we made it to
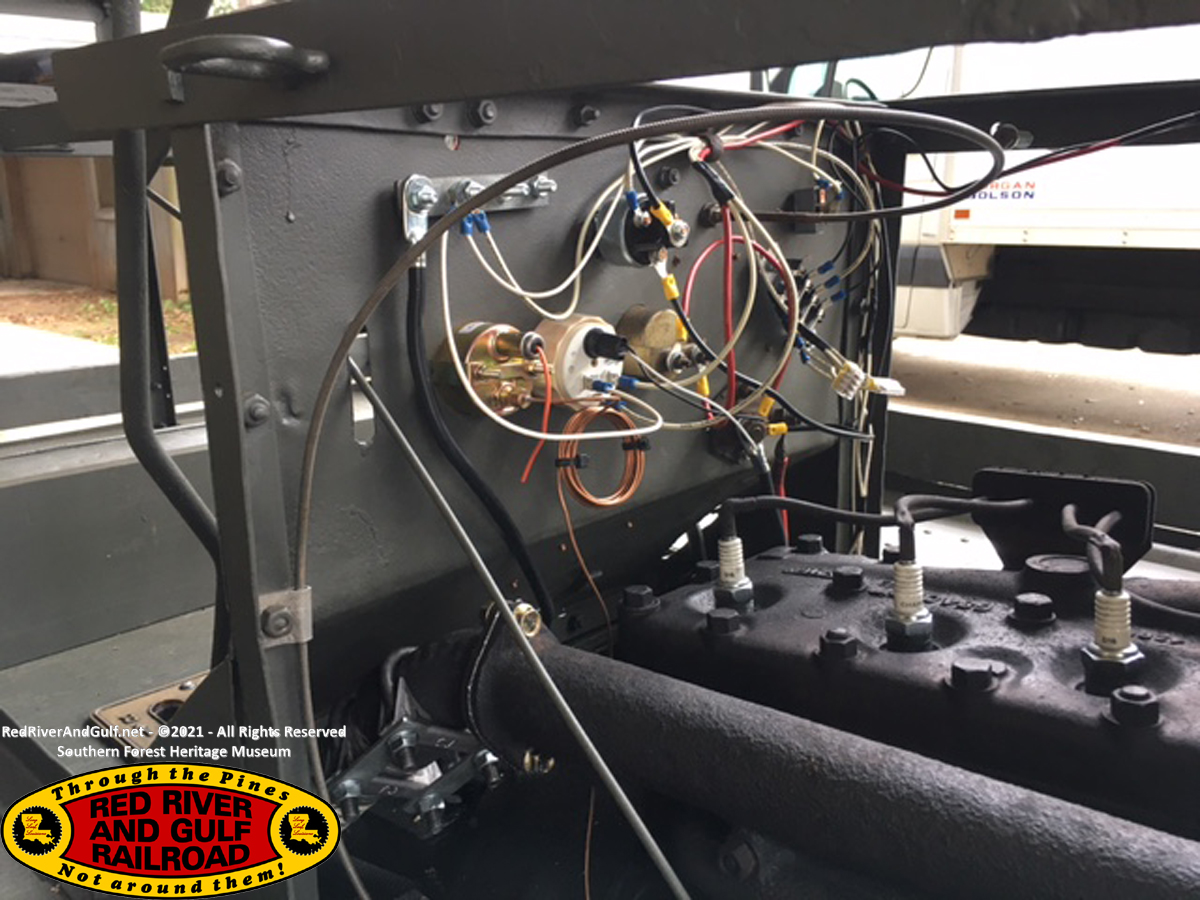
the wiring. Since all the old wiring was dry rotted and
unusable, we started from scratch by installing a new fuse block
to power the new electric fuel pump, water temperature gauge,
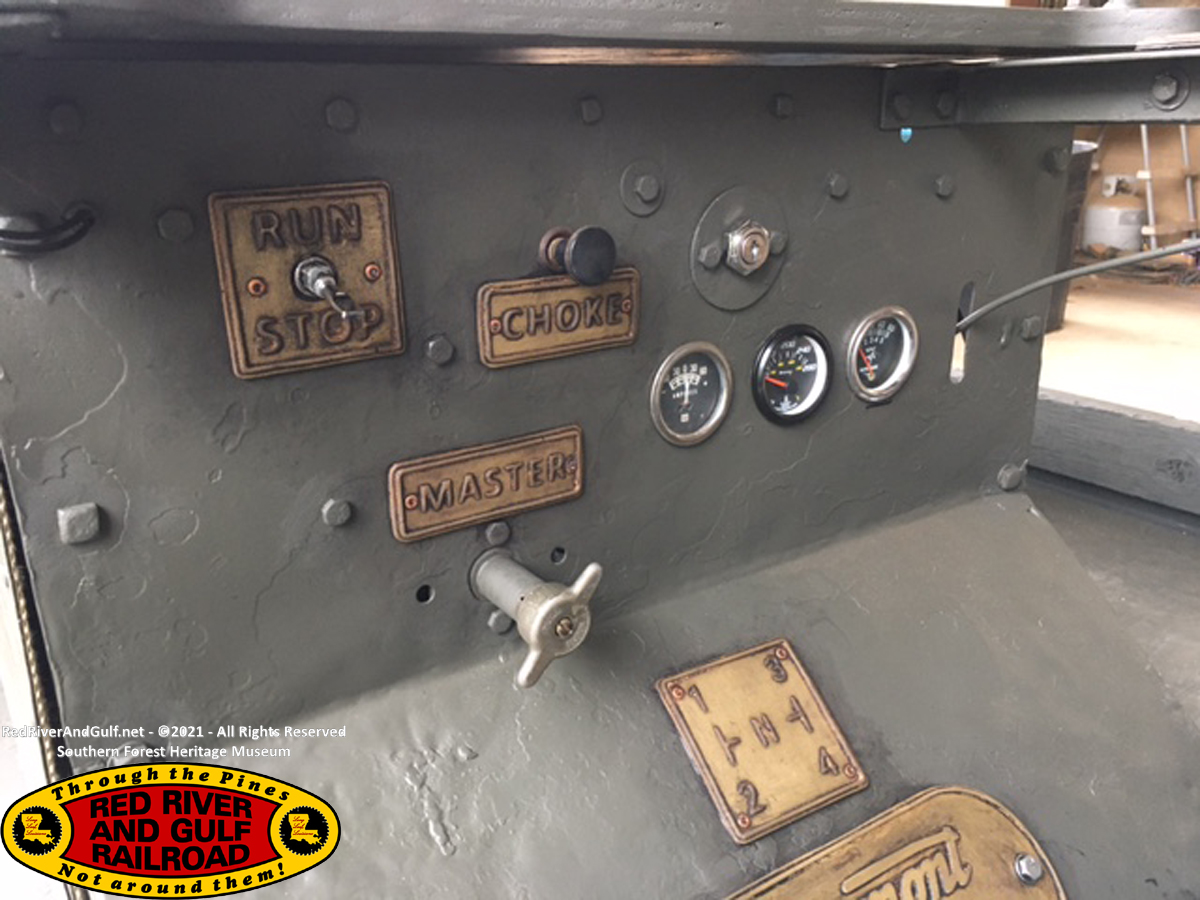
and newly installed horn. This antique engine was fired by a
magneto, so to stop the motor you need a ground switch to ground
the magneto. A new RUN/STOP switch was added to the dash for
this. The original Master switch was also reclaimed and
installed as it should be!
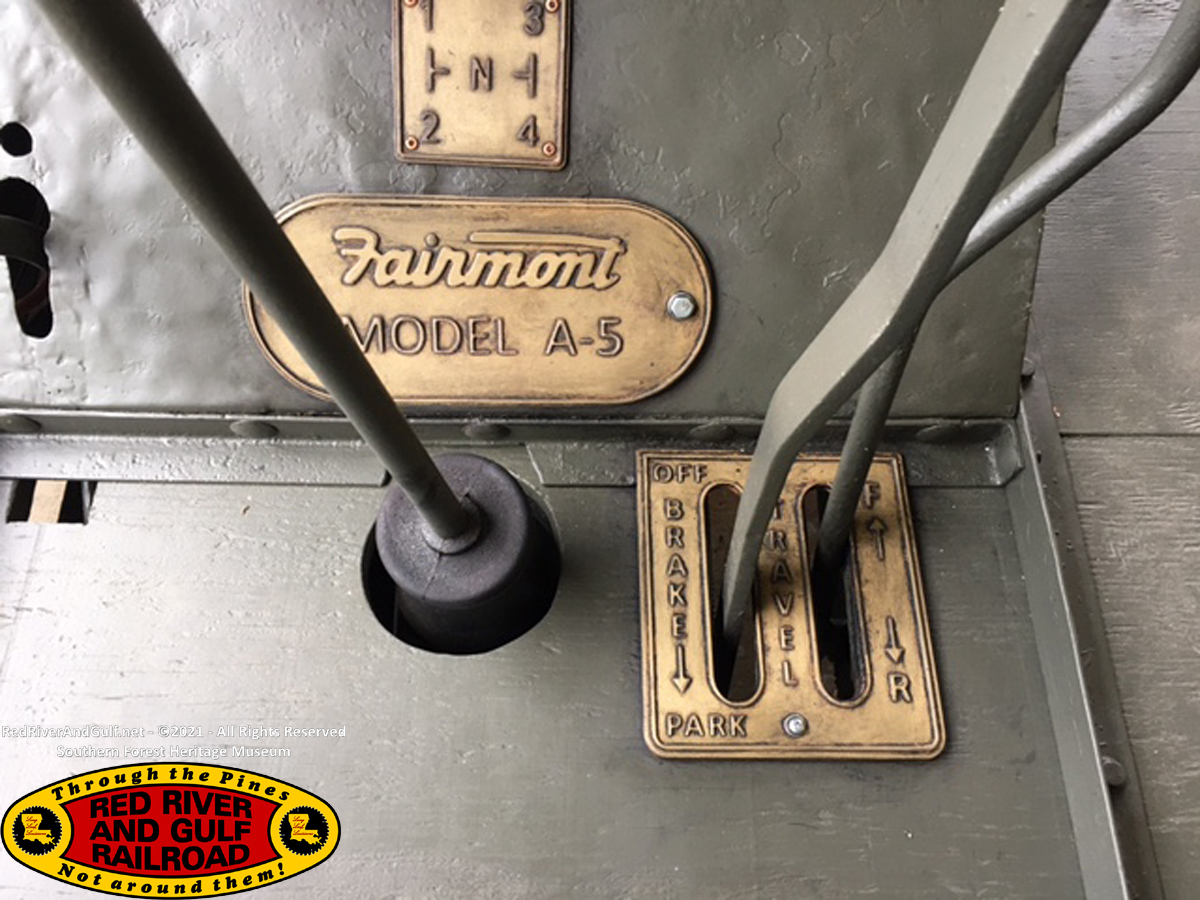
There were no
placards on this rail car to indicate control assignment so we
crafted and installed new ones to indicate the switches, brake,
transmission gear pattern, travel direction, and throttle
operation.
The A-5 was
missing an air cleaner for the carburetor. With limited room to
craft and fit one under the hood we removed the old mechanical
fuel pump/filter for more room. After searching high and low for
an air filter assembly we realized it would have to be made.
With mounting space at a premium we discovered we could use a
90-degree bend 1.5” radiator hose to connect to the carburetor
throat and fit the new Honda motorcycle air filter assembly
under the right floor panel. A 1.5” flanged plumbing drain
fitting worked great to connect the air filter to the new hose!
The exhaust was next. During disassembly the flanged bend on the
exhaust manifold was punctured with a cutting wheel while
removing the old rusted bolts. This required the cut hole to be
repaired and filled. A new muffler and tail pipe were mounted
under the rear floor and connected to the manifold with a new
stainless exhaust pipe.
I think we are
ready for a test run!
-Glen Armand
|
